

- An Onyx browser home page
- An Onyx sidebar in your browser
- Contextual search on selected text
- Deep Research capabilities
Coming soon: Full page context chat and indexing visited pages into your Onyx knowledge base!
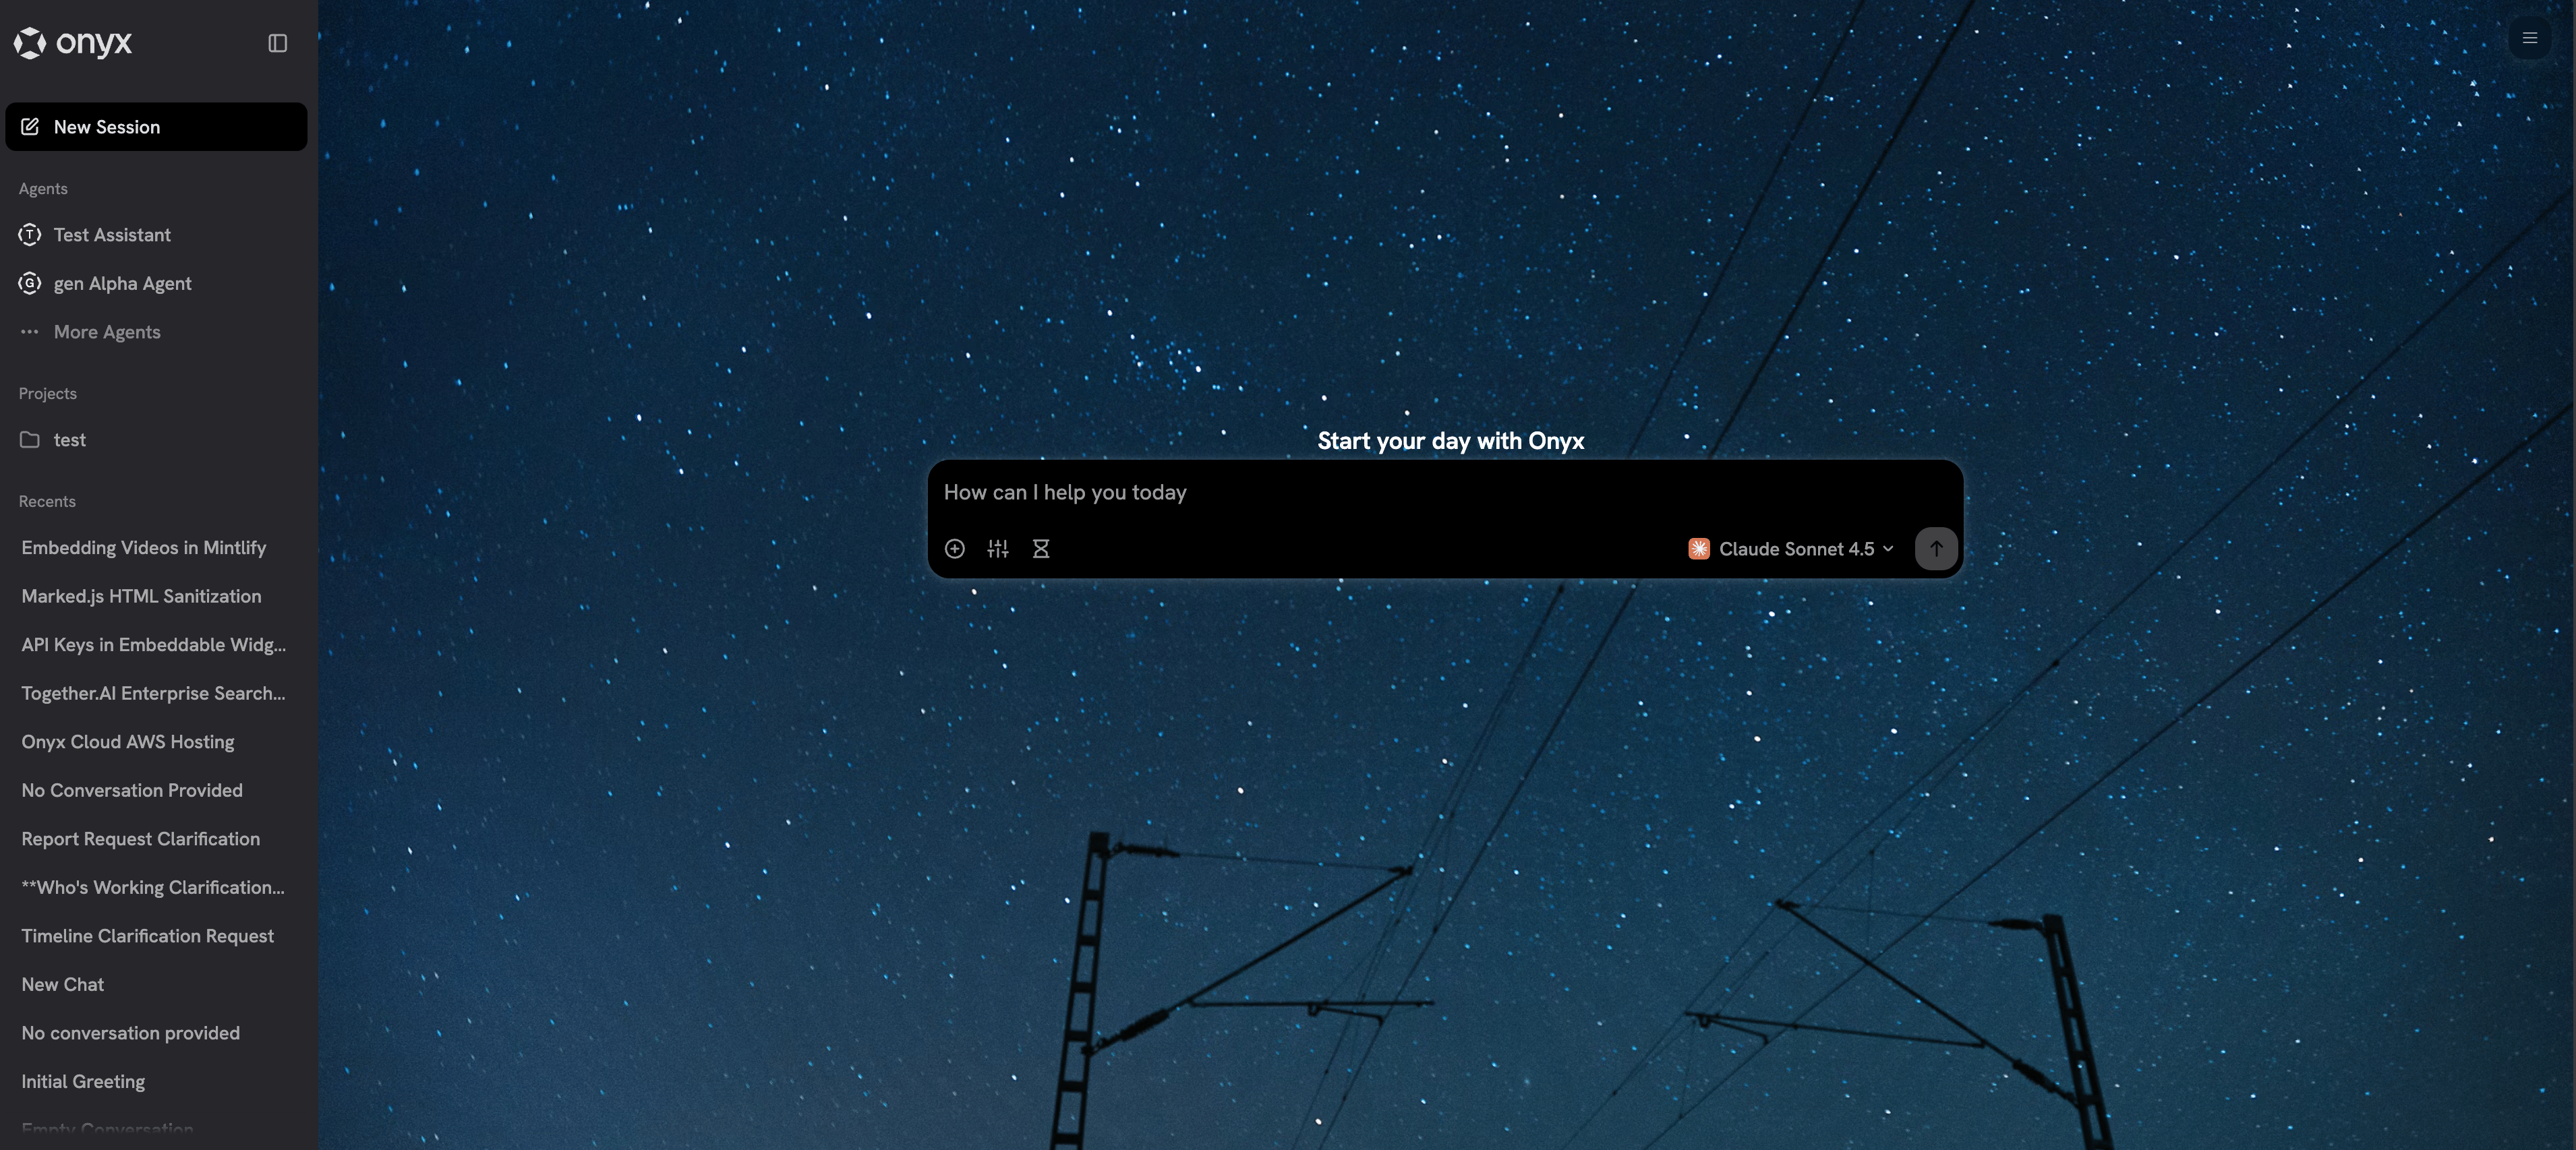
Installation Options
Onyx Cloud users: Install directly from the Chrome Web Store Self-hosted users: Your administrator will provide installation instructionsManual Installation (Self-Hosted)
1
Get the extension files
Clone the Onyx Chrome Extension repo from GitHub.
2
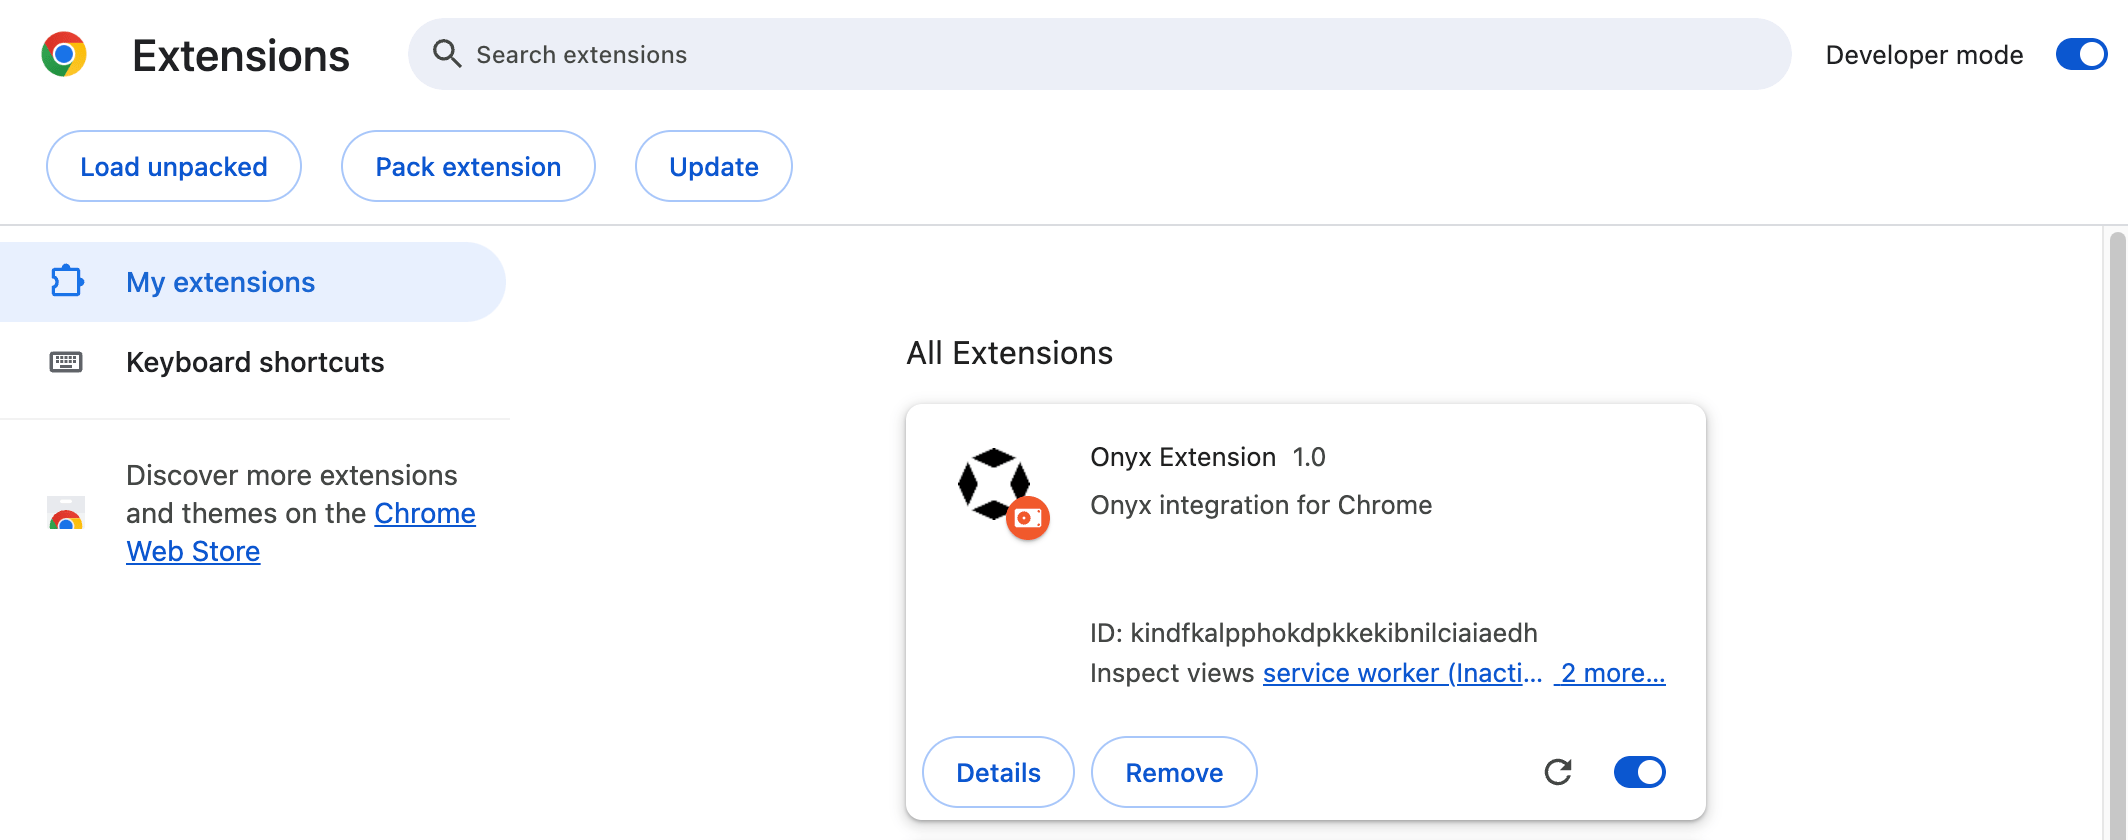
Enable Developer Mode
- Visit
chrome://extensions/in your Chrome browser - In the upper right corner, click Developer mode to enable it
3
Load the extension
- Click Load unpacked
- Select the folder containing the Onyx Chrome Extension files
- Click Load
4
Configure connection settings
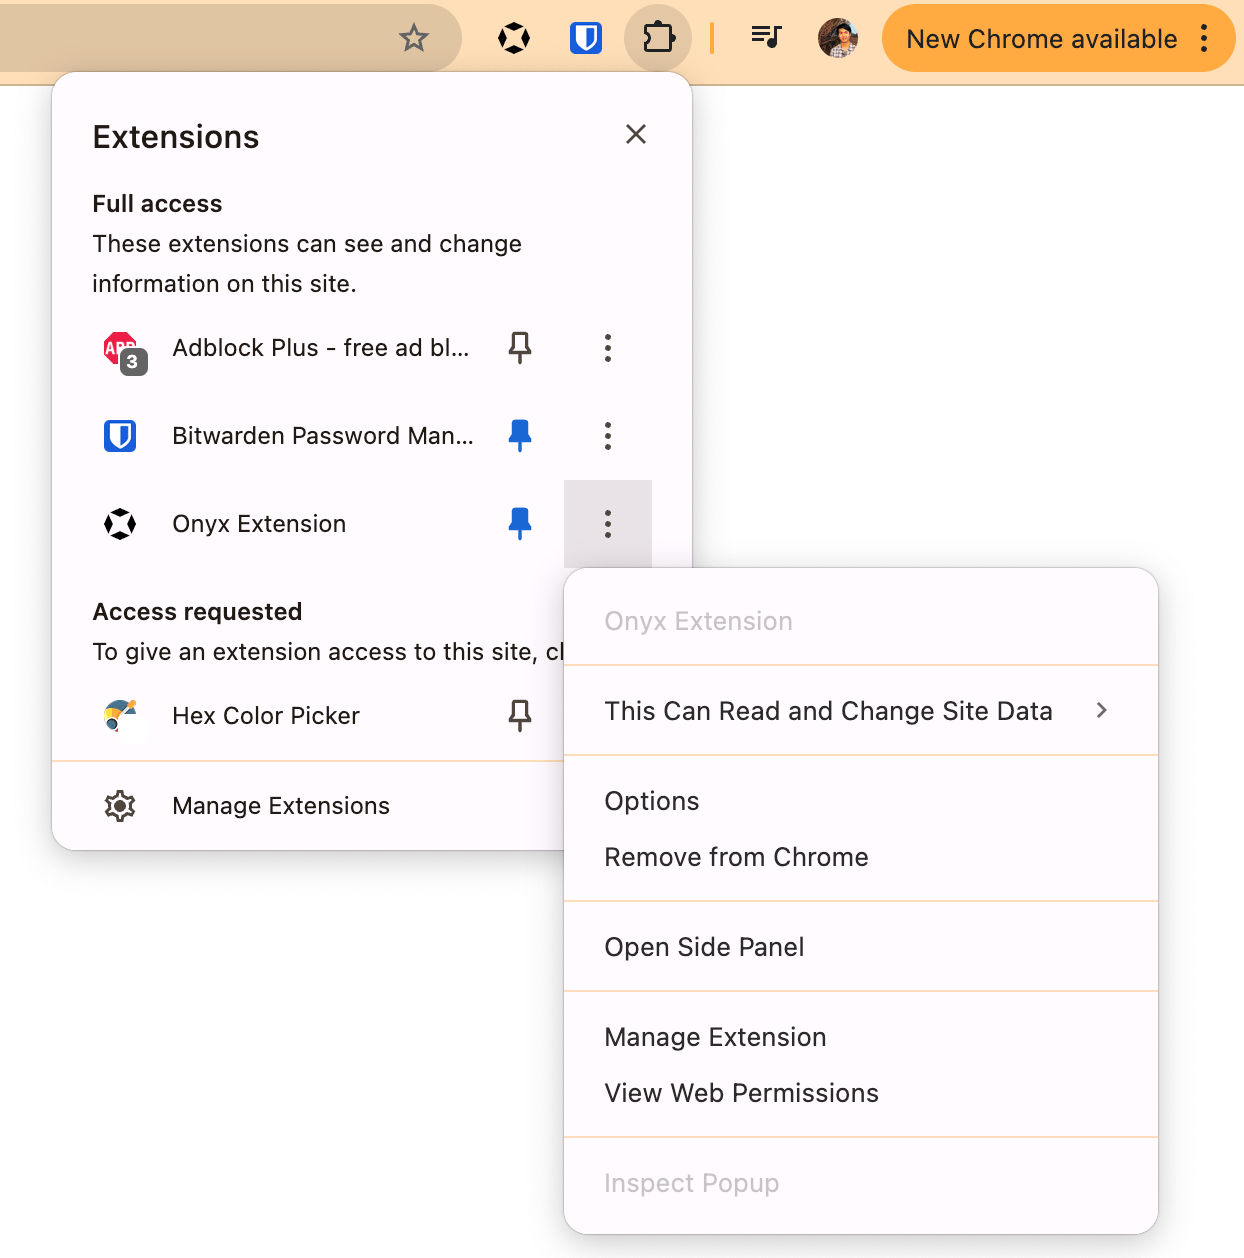
- Click the three dots (…) next to the extension
- Select Options
- Set the Root Domain to your self-hosted Onyx instance’s URL
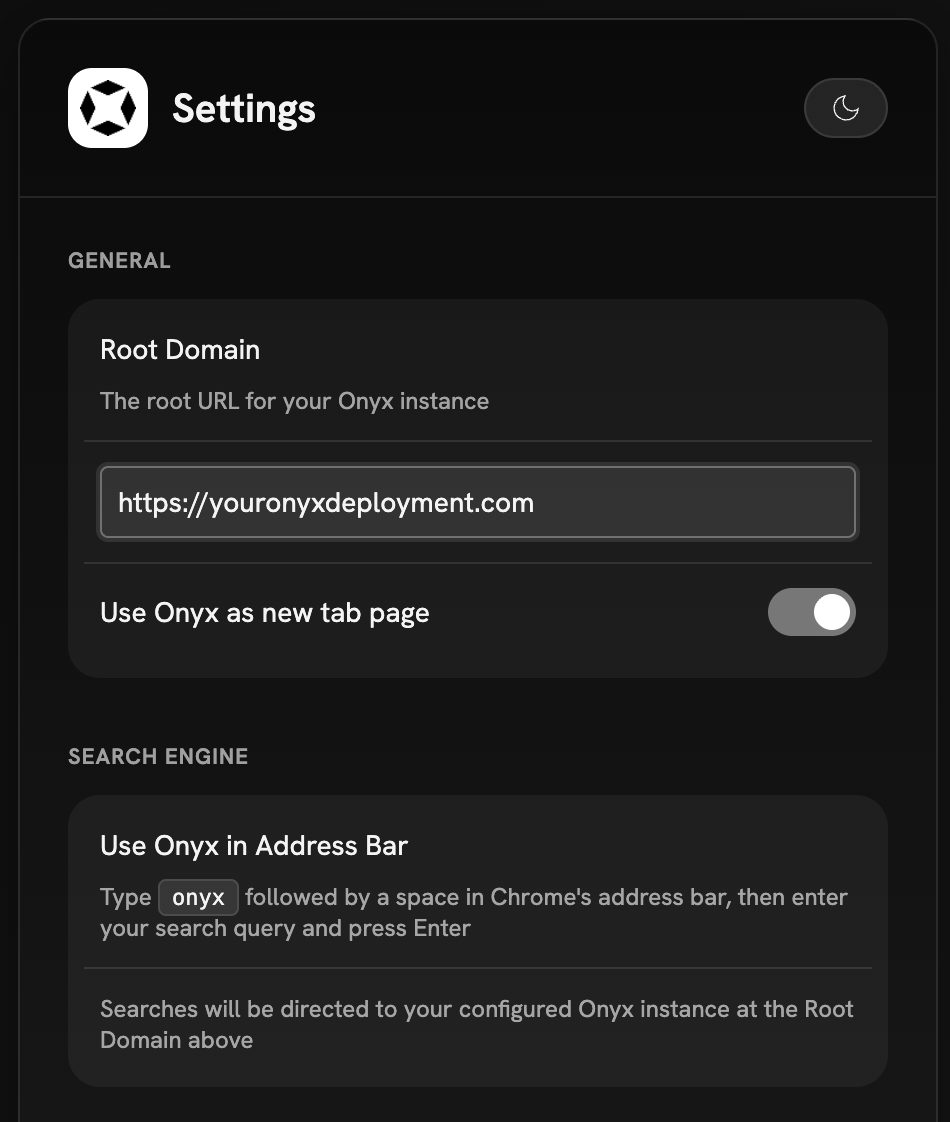
The extension will now connect to your self-hosted Onyx instance and can be used from any page in Chrome.
Enterprise Deployment
For organizations deploying the extension at scale, use Google Admin Console for centralized management.1
Access Chrome Management
- Log in to your Google Admin console
- Navigate to Devices → Chrome → Apps and extensions
2
Add the extension
- Obtain the Chrome extension ID from an Onyx team member - Click the yellow plus icon to add the extension - Enter the Chrome extension ID and click Add
3
Configure deployment
Configure deployment options such as:
- Force installation for specific organizational units
- User access controls
- Update policies and version management
- Installation policies (allowed, forced, or blocked)
4
Save configuration
Pre-set the Onyx URL with a managed policy
Extension version 1.2 and later reads settings from Chrome managed storage. Use it to set the Onyx URL and the new tab behavior for all users. Settings set by policy are read-only in the extension UI and show a “managed by your organization” notice. The Chrome Web Store extension ID isdacfbnglakogghooelgjflkhjcdbemia. The examples below use this ID.
If you self-host the extension, replace it with your own ID from chrome://extensions.
- Google Admin Console
- Windows / macOS / Linux policy
- Navigate to Devices → Chrome → Apps and extensions
- Select the Onyx extension
- Under Policy for extensions, paste the JSON below
chrome://policy on a client to confirm the policy was applied.
Self-Hosting the Extension
For private distribution without the Chrome Web Store:1
Package the extension
Use Chrome’s developer tools to create a CRX file
2
Host the files
Place the CRX and update manifest on your server
3
Configure clients
Use Admin console or Group Policy to point to your hosted files
Extension Management
Update Policies
- Enterprise deployments: Chrome handles automatic updates every 5 hours
- Version pinning: Available for force-installed extensions, but avoid extended use due to security updates
- Self-hosted updates: Increment version in manifest.json and replace hosted files